Last updated November 18, 2026








Free written scope consultation - allowances, timeline, and change-order rules on paper before a single trade is scheduled
Bathroom Remodeling Troubleshooting: Common Problems and How to Fix Them
Grout cracking within six months of a bathroom remodel isn’t bad luck. It’s almost always a substrate problem that was visible during installation and either ignored or rushed. The same goes for a drain that gurgles a week after the tile went down, or a hairline crack at the shower curb that shows up the first winter after the job closes out. Here in Enterprise, where summer temps push past 100°F and winter nights drop into the 30s, a bathroom goes through more thermal stress in one year than most people realize, and that stress finds every weak spot in the work.
This guide is written for the homeowner who’s past the finished-project glow and into the part where something looks off. What you’ll find here: how to tell normal settling from a real defect, which symptoms point to a fast fix, which point to a waterproofing failure hiding behind the tile, and how to document a problem so a warranty claim lands instead of getting dismissed.
Quick Answer
Most post-remodel bathroom problems fall into three buckets: tile and grout failures (usually a substrate or movement issue), moisture and mold (usually a ventilation, waterproofing, or caulk failure), and plumbing symptoms (usually a fixture or drain issue the install missed). Minor cracking at inside corners is often cosmetic and fixable with a re-caulk and a dehumidifier; cracking across the middle of a tile field, hollow-sounding tiles, or water staining behind the wall is a callback-level defect. Document with dated photos before you call, so the diagnosis and the fix happen in one visit instead of three.
Styles & brands we work with
- Kitchen remodeling
- Bathroom remodeling
- Home additions & ADU
- Roofing
- Windows & doors
- Driveway & pavers
- Fence
Table of Contents
- Tile and Grout: Cracking, Lippage, and Hollow Spots
- Moisture and Mold After the Remodel
- Plumbing Symptoms: Slow Drains, Pressure Drop, and Leaks
- How to Document a Problem So a Warranty Claim Sticks
- What a Real Callback and Warranty Process Looks Like
- When to Escalate Beyond Your Original Contractor
- Common Mistakes to Avoid
- When to Call a Professional
Tile and Grout: Cracking, Lippage, and Hollow Spots
Tile failures almost never start with the tile. They start underneath it. Three problems show up most on bathroom remodels: cracking, lippage (where one tile edge sits higher than its neighbor), and hollow spots you can hear when you tap the surface with a screwdriver handle.
Hairline cracks at inside corners
Corner cracks along a shower wall or where the floor tile meets the wall are the most common phone call we get. Those joints should have been filled with flexible sealant, not hard grout. New construction moves. A house in Enterprise goes through a hot, dry summer and a cool winter, and the wood framing moves with it. If the corner was grouted solid, that movement telegraphs into a crack. The fix is real: chip out the grout, pack in a proper flexible joint sealant rated for wet areas, and let it cure. Half a day of work in most bathrooms.
Cracking across the middle of a tile field
A crack that runs through the center of a tile, not along a grout line, is different. That’s usually a substrate problem. Two causes dominate: the tile was set over a subfloor that wasn’t stiff enough for the joist spacing, or the installer skipped a decoupling membrane under the tile. If you have brand-name product like Tamko or Boral on the exterior and the interior build was done to the same standard, this kind of failure shouldn’t happen. When it does, the repair isn’t a re-grout. It’s removing the affected tile, checking the substrate below, and rebuilding that section with a proper membrane before the tile goes back down.
Lippage
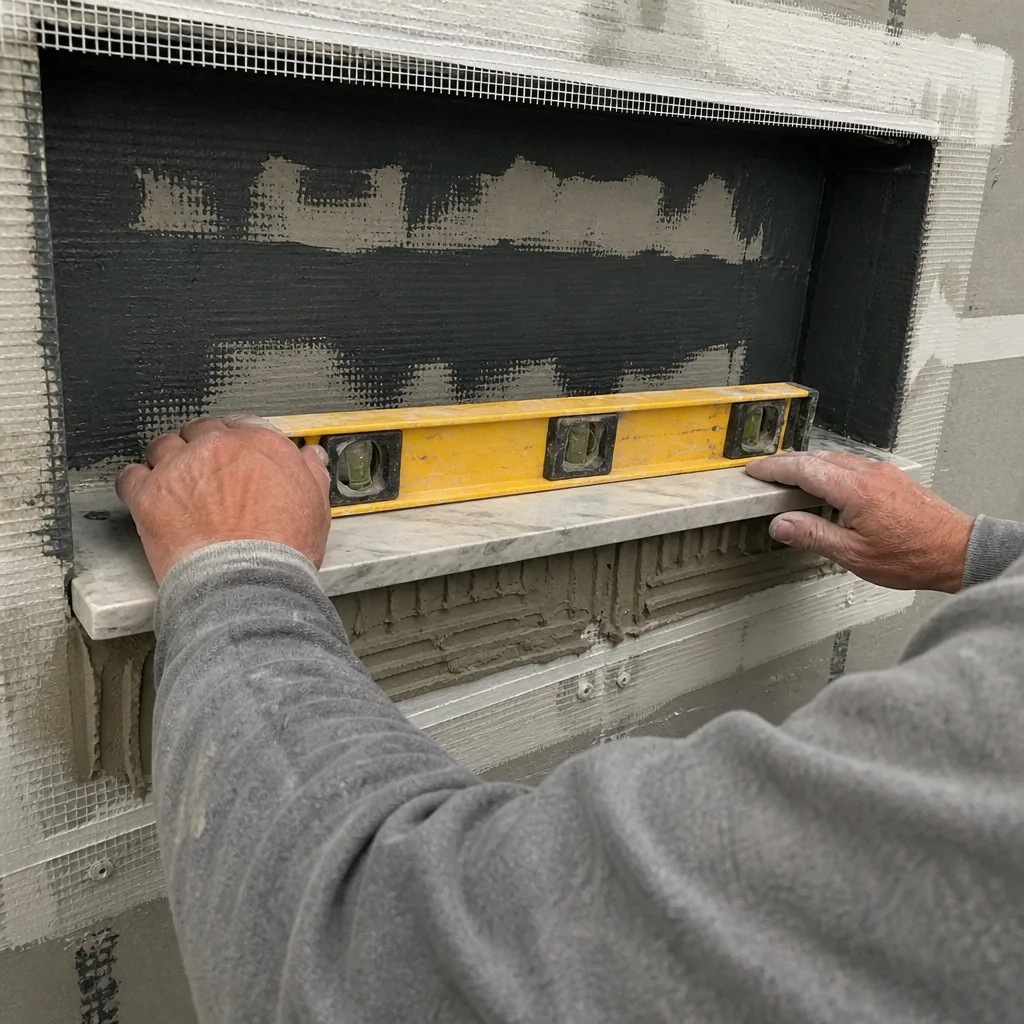
A tile edge that sits proud of its neighbor by a visible amount is lippage, and if it’s catching your toe it’s past the manufacturer’s tolerance for almost any tile. Small lippage on a few tiles can sometimes be dressed with a stone or diamond pad. Larger lippage usually means the tile needs to come up and be re-set. Don’t take a verdict from anyone who hasn’t put a straightedge on three or four sections first.
Hollow spots
Tap the floor and walls in a grid pattern. A dull thud means full thinset coverage; a hollow ping means a void. A few small hollow spots in a big field may be tolerable. A hollow spot under a shower floor tile or near a drain is not, because that void collects water and eventually grows. In our experience, this is where a lot of the moisture complaints in Enterprise bathroom remodels really begin.
Moisture and Mold After the Remodel
Mold in a bathroom that was just remodeled is a red flag, because the materials are supposed to be new. The question isn’t whether mold is present. It’s where the water is coming from. Three distinct failures cause nearly all of it, and they need different fixes.
Ventilation failure
If the fan is undersized, ducted into the attic instead of outside, or simply not run long enough, humidity sits on every surface and grows mold in the corners and on the ceiling first. Check the fan with a tissue test: hold a square of toilet paper up to the grille while the fan runs. If it won’t hold, the fan is too weak or the duct is blocked. A proper exhaust fan, ducted to the exterior, running 15 to 20 minutes after every shower, solves a lot of this on its own.
Waterproofing failure
If the mold shows up behind a wall, at the base of a shower wall, or under the floor tile near the curb, the waterproofing layer was compromised. Common culprits: missed or thin waterproofing membrane, gaps at the drain flange, or a shower pan liner that was nailed through during the backer-board install. This is not a re-caulk job. The wall and floor need to come apart enough to inspect the membrane, and the fix is a rebuild of that section. That’s true anywhere, but it’s especially critical in Enterprise, where the dry air makes mold growth slower than in humid climates, so the problem can hide for months before it shows.
Caulk failure
Caulk between the tub and the tile, or at the base of the shower walls, will fail faster than the rest of the tile work. Water gets behind it, soaks into the substrate, and grows mold in a narrow strip. That failure is genuinely easy to fix: cut the old caulk out completely, clean and dry the joint (a heat gun on low, or just time), and re-caulk with a mold-resistant silicone rated for wet areas. Give it 24 hours to cure before the shower goes back into service.
Plumbing Symptoms: Slow Drains, Pressure Drop, and Leaks
Plumbing problems after a remodel sort into “call the contractor” and “actually, that’s normal.” Knowing which is which saves you a panicked call and, more importantly, makes sure you don’t sit on a real leak.
Slow drains
A shower drain that slows down right after the remodel is almost always a partial blockage from construction debris: thinset, grout, or a chunk of caulk that went down the drain. That’s a callable fix, usually a quick auger or a drain-cleaning visit. A slow drain that develops weeks later is more likely hair or soap, and a plunger or a drain snake handles it. The nuanced middle case: a drain that’s slow only in the shower, not the sink, and smells. That’s hair or a failing trap seal, not a plumbing defect.
Pressure drop
If pressure dropped at every fixture, something upstream changed. Most often it’s a clogged aerator screen at the faucet, or a showerhead with a flow restrictor that was swapped out during the remodel. If pressure dropped at one fixture and stayed the same everywhere else, it’s the fixture. If pressure dropped all over the house at the same moment a toilet starts running strangely, that’s a pressure-balance valve or a bad supply line, and it’s worth a call immediately.
Leak signs behind the wall
Water stains at the base of a wall, soft drywall, a bubbling paint surface, or a musty smell in the adjoining room are all behind-the-wall leaks. Shut off the water to that bathroom, note where the staining is, and call. A leak that travels through the floor into the ceiling below is worse the longer you leave it. Whatever the fix is, the cost multiplies the longer the water sits.
How to Document a Problem So a Warranty Claim Sticks
The difference between a warranty claim that gets handled and one that gets dismissed is usually documentation. Contractors don’t argue with dates and photos. They argue with “it’s been getting worse for a while” and no record. This sequence takes about 20 minutes and makes the claim much harder to push back on.
- Write down the first date you noticed the problem. Not the date it got bad. The first date. Note the weather or the event on that date (first shower after the remodel, first cold snap, first heavy rain).
- Take wide photos and close photos. Wide shots show the location in the room. Close shots show the exact defect. Put a coin next to a crack, or a ruler, so the reader knows the scale.
- Take a video of tile taps. Walk the room with your phone recording audio and tap every tile in a grid. The hollow spots are audible, which matters because a contractor can’t argue with their own listening test.
- Note the daily routine that touches the problem. “Two showers a day, fan runs 20 minutes, no window” is a useful line. So is “we shower with the door open.” It tells the contractor what the bathroom is doing.
- Keep a one-line log. Each time something changes, jot the date and what changed. A quick text or email to yourself is fine. It becomes evidence.
- Put the request in writing. Email or text the contractor with the photos and the log. A phone call is fine to follow up, but the written request is what starts the clock on a warranty response.
One test before you send: if your own photos look vague to you, they’ll look vague to the contractor. Reshoot the close shots on a bright day with the flash off. The defect should be obvious at a glance.
What a Real Callback and Warranty Process Looks Like
A contractor’s callback process tells you a lot about how the company is run. Here’s what we think the standard should look like, and what to ask before you send the first message. This is also where The Relay Visibility Guarantee matters: a written price, live arrival tracking, and photo updates before and after every visit, including a warranty visit. If a contractor’s callback process is “we’ll fit you in,” ask for a window in writing.
- A real callback within one business day. Not a confirmation that a ticket exists. A person picks up the phone, looks at your photos, and tells you what happens next.
- A scheduled visit and an arrival window in writing. No “we’ll be there sometime Tuesday.” An actual window, and ideally a live arrival tracker.
- A diagnosis on site, in plain language. The contractor should say what’s wrong, whether it’s covered, and what the repair is. If the diagnosis is a re-caulk, they should say so.
- A written scope before work starts. Even on a warranty repair. If it’s a bigger fix, you should see the line items and approve them before anyone touches the tile.
- Photo documentation before and after. This is on the contractor, not on you. It’s also your record for the next time you sell the house.
- A written guarantee of the repair itself. Our 365-Day Done Right Promise covers the repair for a full year. If it’s not done right, we make it right. Ask every contractor what their repair warranty is, in writing, and how long it runs.
What this looks like on paper: a small warranty repair like a re-caulk at the tub is a same-visit fix. A larger fix like redoing a shower pan waterproofing is a scheduled job with a written price, even when it’s a warranty item. The point isn’t that every fix is free. It’s that the process is visible and there are no surprise numbers.
When to Escalate Beyond Your Original Contractor
Most problems are handled by the original contractor. A few are worth escalating, and it’s better to escalate to the right place the first time than to call three contractors and bounce between them.
- No response after two written requests. If you’ve emailed with photos and a log and gotten no written response after two tries spanning more than a week, that’s a departure from most contractor standards and worth escalating.
- A defect that keeps coming back. Caulk that cracks a third time, or a tile that keeps moving, means the fix isn’t addressing the cause. That’s a rebuild issue, and it should go back to whoever installed it, in writing.
- A safety issue. Water leaking into the ceiling below, a shower drain that’s backing up with gray water, or a wall that’s soft to the touch are all safety items. Stop using the bathroom and call immediately.
- A claim the contractor won’t put in writing. If a fix has been agreed to verbally but not in writing after the visit, get it in writing or escalate. Verbal repair agreements are the ones that disappear.
Escalation usually means, in order: the contractor’s office in writing, then the contractor’s bonding company if they’re bonded, then the state licensing board for the contractor’s license. For a bathroom remodel in Enterprise, that’s the Nevada State Contractors Board. A licensed contractor should be listed, and the board’s complaint process is real. Save it for a claim that’s genuinely stalled.
Common Mistakes to Avoid
- Assuming the first fix is free. Worth asking before you agree to anything, even a warranty repair. Our written price before work is a standing rule, and it’s a good question for any contractor.
- Caulking over a leak. A fresh bead of caulk over a cracked joint will hold for a week and then fail worse. The water goes somewhere. It just doesn’t go where you can see it.
- Patching tile without checking the substrate. Replacing a cracked tile without checking what’s under it is a repair that fails again in six months. Tap the surrounding tile before anyone touches the repair.
- Using the shower during a repair. A re-caulk job with a 24-hour cure window needs 24 hours. In a busy household, the shower gets used an hour after the fix and the joint fails again. Plan the repair and the bathroom schedule together.
- Letting the original contractor handle an issue for a month without a written plan. A verbal “we’ll be back” that goes quiet is the most common way a real defect becomes a disputed one. Get it in writing, every time.
- Skipping the annual dehumidifier check. Enterprise’s dry summers make bathroom humidity less of a problem than in Houston or Seattle, but the long cool months are when a bathroom stays damp. A $30 dehumidifier on the counter, run during the cool months, is the cheapest insurance against a moisture callback.
When to Call a Professional
Call a professional if the crack in the tile runs through the tile field instead of a grout line, if a tile sounds hollow when tapped, if water stains show up behind a wall or in the room below, or if the callback on a warranty repair stalled twice. Those are all real defects, not maintenance. If you’re outside the warranty window and you’re not sure what you’re looking at, an inspection visit is cheaper than a rebuild and much cheaper than waiting three months. Sawyer Remodeling handles bathroom remodels in Enterprise and runs on written pricing, background-checked uniformed technicians, photo updates before and after, and a 365-Day Done Right Promise on every project. If you want a second opinion on a problem your original contractor hasn’t solved, or you’re starting fresh and want the job done to a standard that holds up, call (844) 797-5994 for a free estimate. You’ll get a written price range before any work starts. Estimates are free, and the number on the invoice is the number you approved.
See the difference
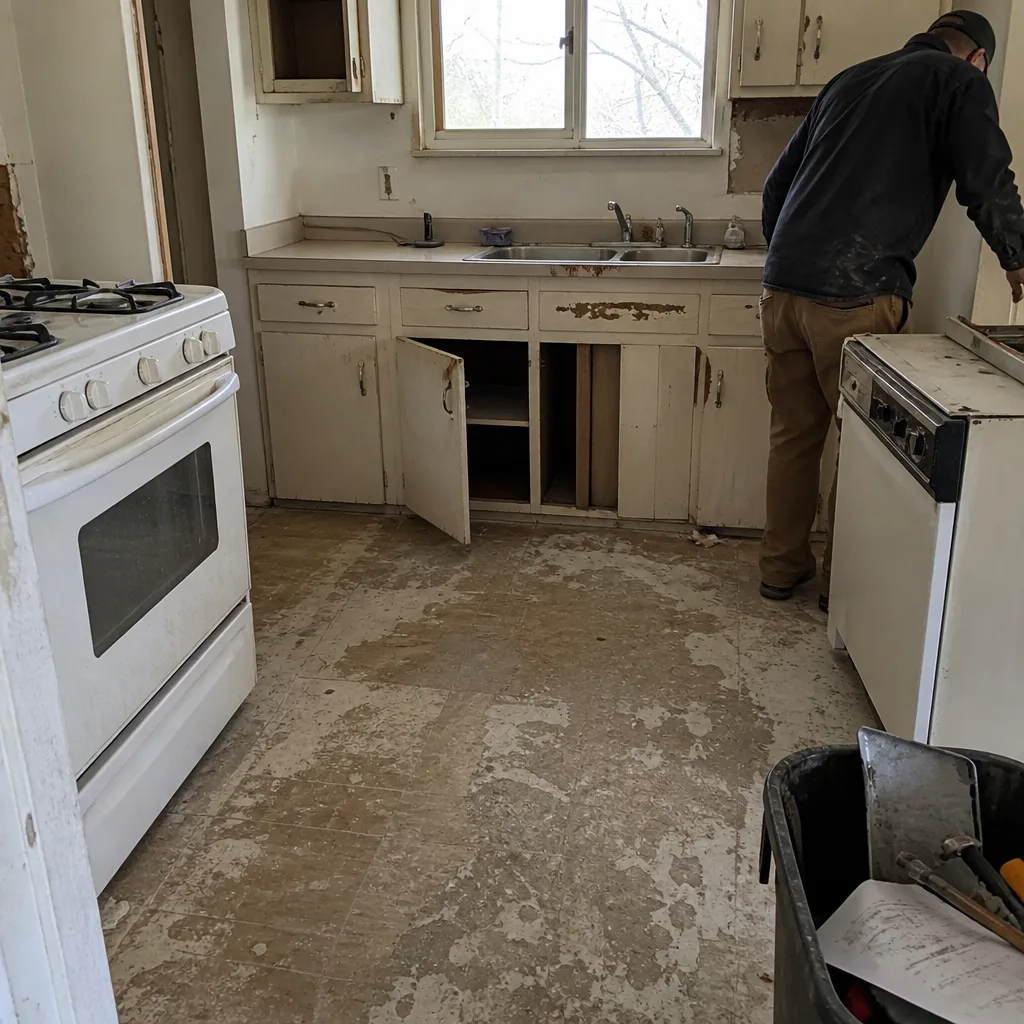 Before
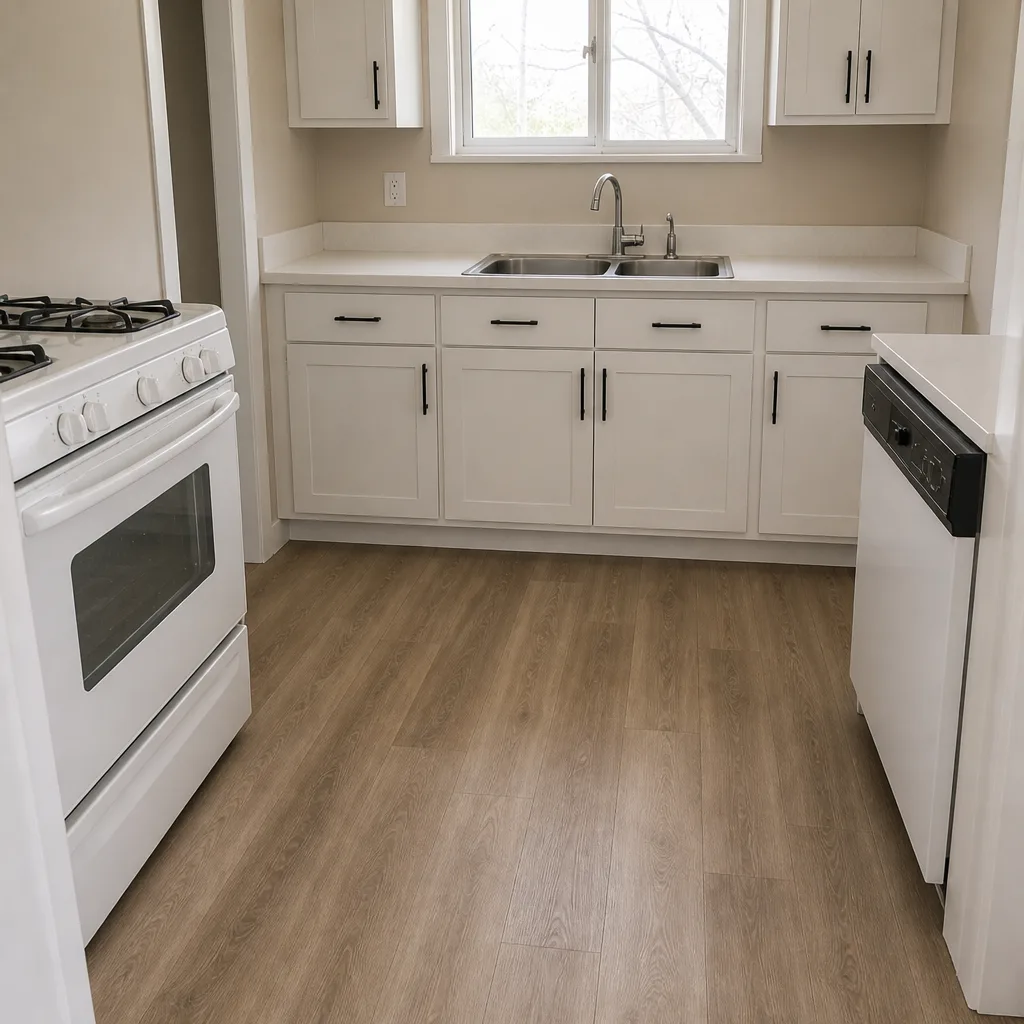 After
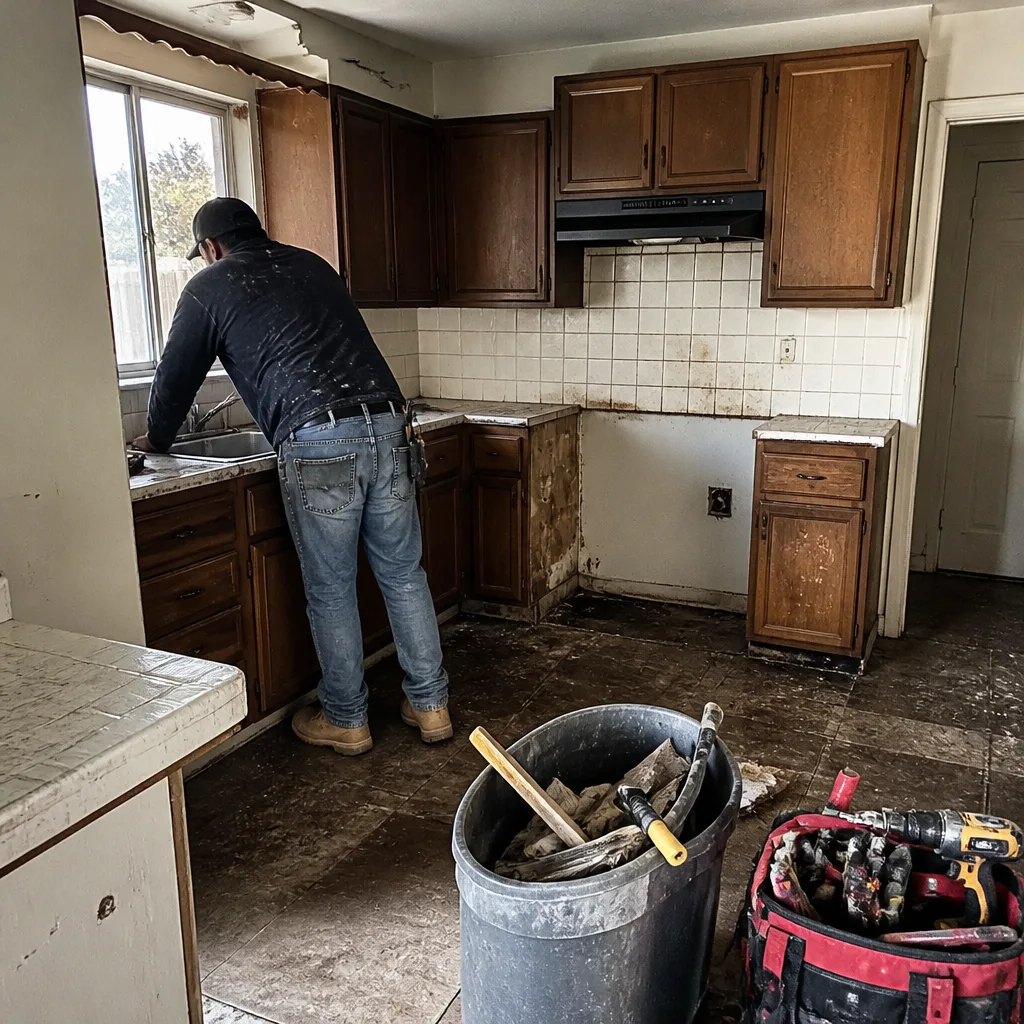 Before
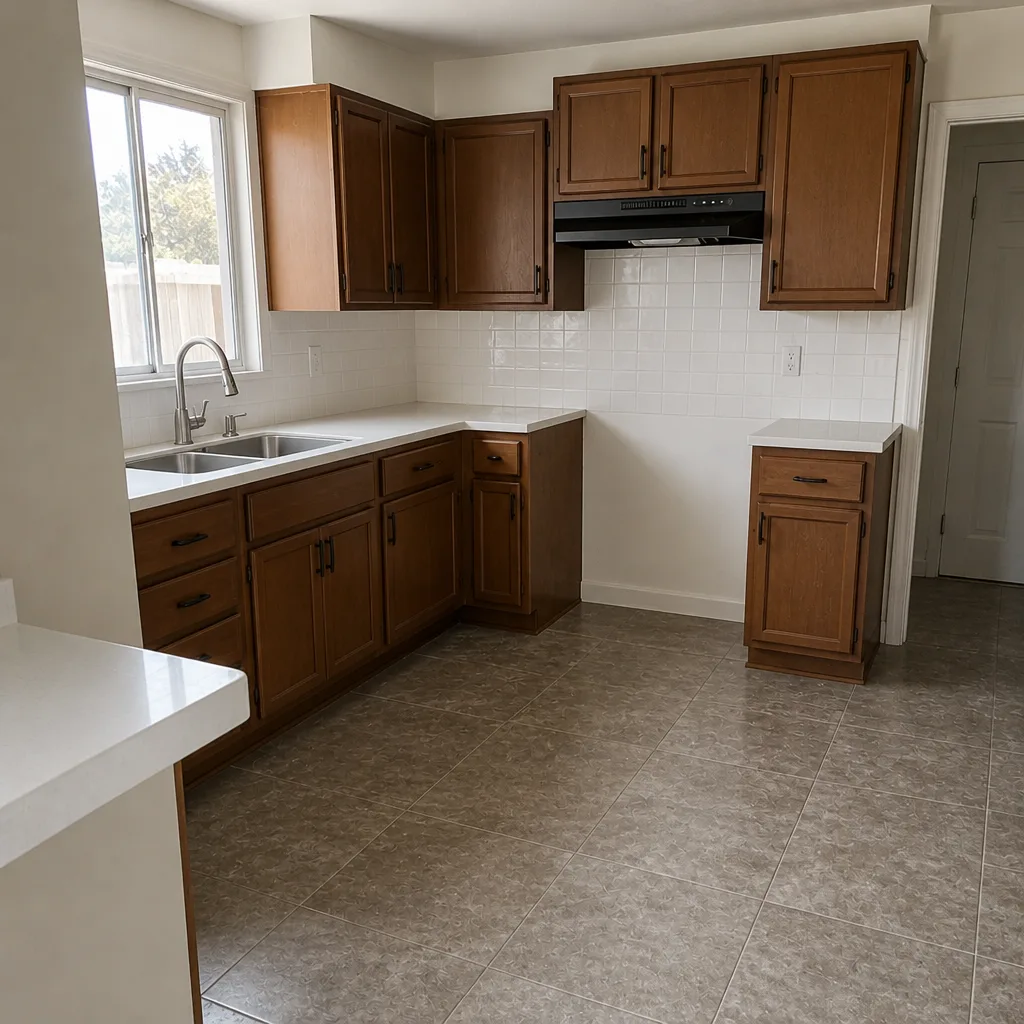 After
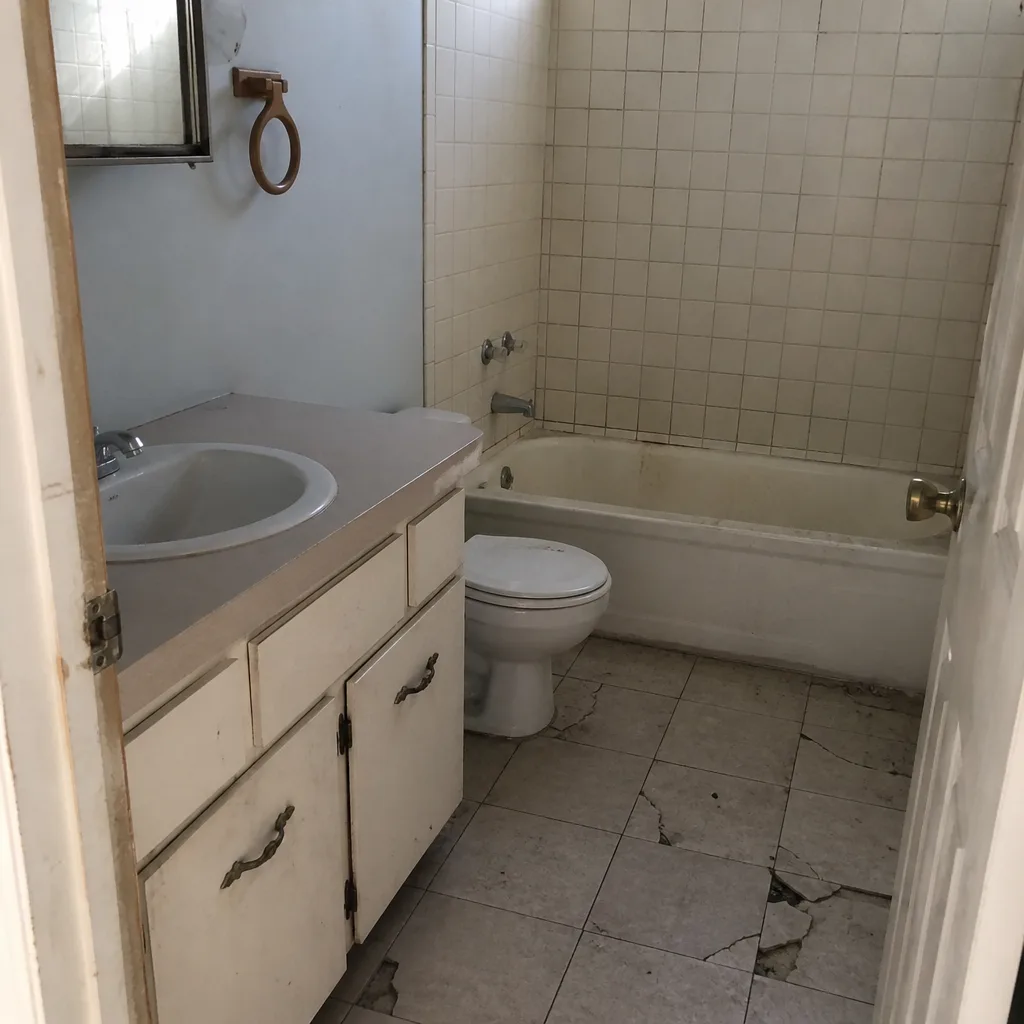 Before
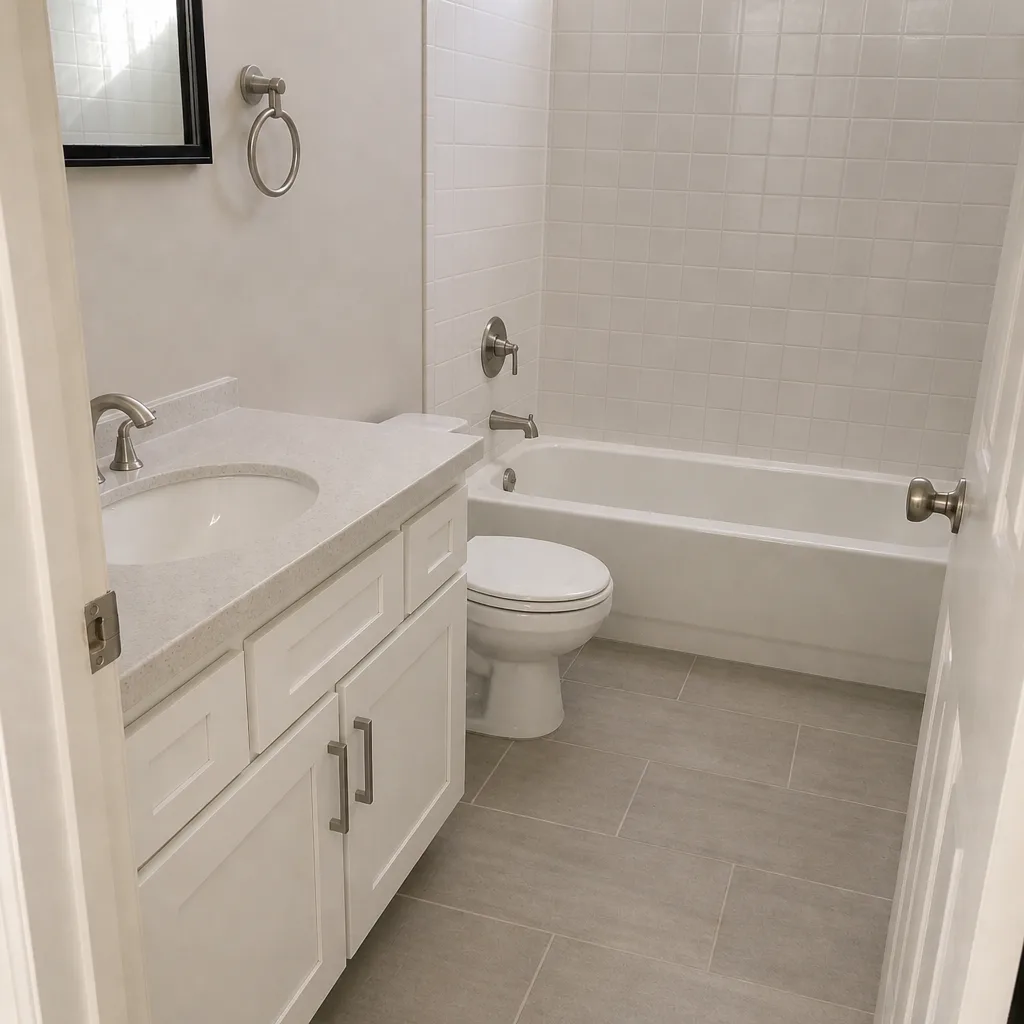 After
Frequently Asked Questions
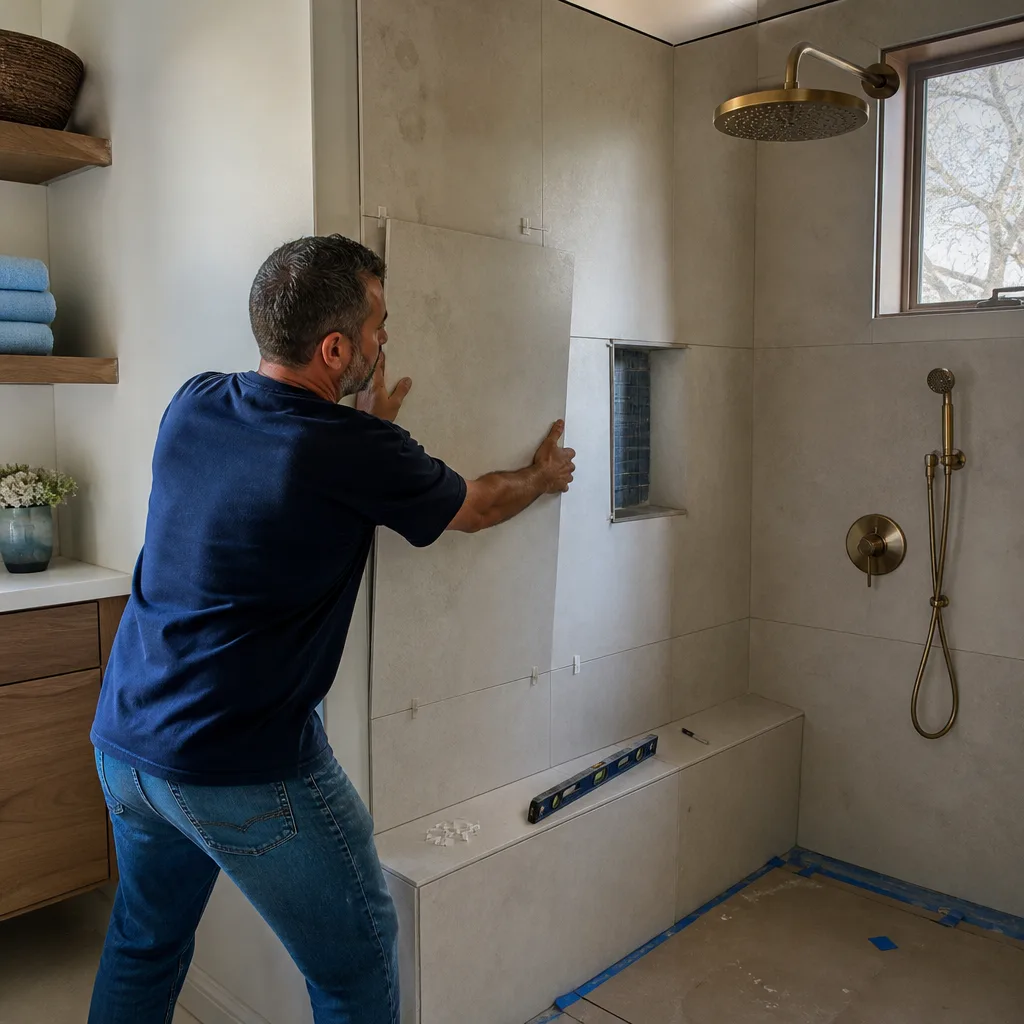
Almost always a substrate or movement issue, not bad luck. Grout at inside corners should have been filled with flexible sealant rather than hard grout, because the house moves with temperature and framing shifts. A crack at a corner is usually a re-caulk fix. A crack across the middle of a tile field points to the substrate below and needs a proper look. Call (844) 797-5994 if a crack keeps coming back after a re-caulk, and we’ll get a written price range for the inspection before anyone touches the tile.
No. Mold is a symptom, and the cause is usually one of three things: bad ventilation, failed waterproofing, or failed caulk. Where the mold shows up tells you which. Ceiling and corners point to ventilation. Base of a shower wall or behind the wall points to waterproofing. A narrow strip at the tub line or the shower wall base is usually caulk. Diagnose the location first, then call.
No, but call. A slow drain in the first weeks is almost always construction debris in the trap: thinset, grout, or caulk. That’s a quick fix. A drain that’s slow with gray water backing up, or a drain that’s slow only in the shower while the sink and toilet are fine, is worth a professional look. If the ceiling below the bathroom is stained, that’s a real repair.
It depends on whether the defect is covered. A re-caulk at a shower or tub is typically $150 to $300 in the Enterprise market, and it’s the kind of small job that a lot of contractors won’t schedule. A tile repair that requires removing and re-setting tile runs $250 to $600 depending on how many tiles come up. A shower pan or waterproofing rebuild is a bigger job, typically $1,200 to $3,500 depending on the size of the shower and the surrounding tile. Ask for the written line items before you approve anything. The number on the invoice is the number you approved.
Yes. Every project is covered under the 365-Day Done Right Promise: if the work isn’t done right within a full year after the project closes, we make it right. That’s a written guarantee on every job, not an upgrade. If a repair itself fails, we do a free second visit. The first visit, the second visit, and the whole callback process run on the same written price and photo update standard as the original project.
Not on our jobs. Every project runs on a written price before any work starts, and the number on the invoice is the number you approved. If the repair uncovers a bigger issue under the tile, we stop and put the revised number in writing before any additional work begins. No change orders you didn’t see coming, and no numbers at the door.
The Bottom Line
Most bathroom remodel problems fall into one of three buckets, and you can usually tell which one you’re in by where the symptom shows up. Cracks at inside corners are usually movement, and a re-caulk fix holds. Cracks through a tile field, hollow taps, or water stains behind a wall are substrate or waterproofing failures, and those need a proper inspection and a rebuild of that section. Mold is a symptom, not a diagnosis: ventilation, waterproofing, and caulk are the three causes, and the fix depends on which one you have. Document everything before you call. First date, wide and close photos, video of tile taps, and a written request to the contractor. That’s what turns a phone call into a warranty claim that lands. If the callback stalls, call (844) 797-5994 for a free estimate and a second opinion.
Written by the team at Sawyer Remodel Enterprise.