

Last updated November 18, 2026








Free written scope consultation - allowances, timeline, and change-order rules on paper before a single trade is scheduled
Bathroom Remodeling Maintenance Schedule: What to Do and When
Recaulking a bathroom takes 45 minutes and costs under $10. Ignoring it for three years can mean $2,000 in subfloor damage. The math on maintenance is not subtle. A remodeled bathroom is an investment that degrades on a predictable schedule: caulk fails first, then grout sealer, then supply lines, then the fan. Homeowners who get 15+ years out of their tile and fixtures aren’t lucky. They know exactly what to do at the 3-month, 1-year, and 5-year marks. This guide is the maintenance calendar your contractor probably never handed you, written from Enterprise where hard water and dry air put bathrooms through a specific kind of stress.
Quick Answer
Maintain a remodeled bathroom on a tiered schedule: inspect caulk and grout at 1 – 3 months post-remodel, then quarterly; descale fixtures and reseal natural stone annually; replace caulk, grout sealer, and supply lines around the 5-year mark. Check the ventilation fan every 6 months and clean it yearly. The single highest-return habit is running the fan during and 20 minutes after every shower.
Styles & brands we work with
- Kitchen remodeling
- Bathroom remodeling
- Home additions & ADU
- Roofing
- Windows & doors
- Driveway & pavers
- Fence
Table of Contents
- Months 1 – 3: What to Watch as Materials Cure and Settle
- Annual Maintenance for Las Vegas Valley Hard Water
- Ventilation Fan Maintenance: The Most Important Task You’ll Do
- The 5-Year Inflection Points
- How to Protect Your Warranty Coverage
- Seasonal Tasks for Enterprise’s Climate
- Common Mistakes to Avoid
- When to Call a Professional
Months 1 – 3: What to Watch as Materials Cure and Settle
The first three months after a remodel aren’t about failure. They’re about the normal settling of materials that were installed wet, sealed fresh, or torqued tight. In Enterprise, the dry desert air pulls moisture out of thinset, caulk, and grout faster than in humid climates, which is usually good, but it means you should look at the right things at the right time.
Here’s what a thorough 1 – 3 month inspection covers:
- Grout color shift. Fresh grout lightens as it cures, sometimes unevenly across a floor. If you see a patch that stays darker than the rest after 30 days, that’s moisture trapped behind the tile or in the substrate. Note it and call it in.
- Caulk gaps at wall-to-floor and wall-to-tub joints. These are movement joints, not structural ones. Small shrinkage lines are normal in month 1. Actual gaps you can slide a fingernail into are not.
- Hardware torque. Grab bars, towel bars, shower door hinges, and the toilet seat bolts. New installs settle. A wobbling grab bar is a safety issue, not a cosmetic one. Snug anything loose, and stop if a fastener won’t tighten. That usually means the anchor missed.
- Shower door alignment. Frameless glass doors can shift a few millimeters as the framing settles. If the door drags or the seal misses the strike, adjust the hinges before the seal wears through.
- Drainage slope. Pour a half-gallon of water on the shower floor and watch it. It should head to the drain in one clear path with no pooling. Any standing water more than 1/4 inch deep after 30 minutes needs a look.
If you had your bathroom remodeled by a company that stands behind its work, this is also the window to use the free second visit if something fails. Bathroom Remodeling in Enterprise projects through Sawyer Remodel Enterprise carry the 365-Day Done Right Promise, so anything on this list that turns into a real defect gets fixed under the written guarantee.
Annual Maintenance for Las Vegas Valley Hard Water
Enterprise water runs hard. The Las Vegas Valley municipal supply typically lands around 12 to 22 grains per gallon depending on the source blend, which is well into “very hard” territory. That number matters because hard water is the main enemy of your fixtures, your glass, and your natural stone. Left alone for a year, mineral scale etches chrome, clouds glass, and starts eating the surface of marble or travertine slab.
Once a year, do these five things:
- Descale showerheads and faucet aerators. Unscrew the head, soak it in a 50/50 white vinegar and water solution for 30 minutes, scrub the nozzles with an old toothbrush, and rinse. Kohler and Moen heads both handle this well. Repeat every 6 months if you shower daily.
- Reseal natural stone. Marble, travertine, and honed granite in showers and on vanities should be resealed annually. Quartz and porcelain don’t need it. Cambria and Caesarstone surfaces just need a mild soap-and-water wipe, no sealer.
- Check grout integrity. Run a fingernail across the grout lines in the shower floor and around the tub. Soft, sandy, or crumbling grout means the sealer is gone and water is getting in. Reseal with a penetrating sealer every 12 months on shower floors; every 18 months on walls.
- Clean the glass. A squeegee after every shower does 80% of the work. Once a month, use a dedicated hard-water glass cleaner. Never use abrasive pads on coated glass, it destroys the coating.
- Inspect the toilet’s supply line and shutoff. Look for moisture at both ends. This is a $15 part that causes $4,000 of damage when it lets go. More on this in the 5-year section.
Homeowners in Enterprise who skip the descaling step for 18 months often end up replacing aerators, cartridges, and showerheads well before the fixtures wear out. The parts are cheap, but the labor adds up.
Ventilation Fan Maintenance: The Most Important Task You’ll Do
The exhaust fan is the single most important piece of equipment in the room for protecting your investment. A fan that moves adequate air keeps humidity down, which keeps caulk flexible, grout sealed, and paint on the ceiling where you put it. A fan that’s clogged or undersized turns your bathroom into a slow-motion moisture problem you won’t notice until the ceiling drywall above the shower starts to bubble.
Here’s the schedule we recommend:
- Every 6 months: Pop the grille off and hold a piece of toilet paper against the intake. If it sticks, the fan is moving air. If it falls, the fan or the duct is compromised and needs a look before the next shower.
- Every 12 months: Vacuum the grille and the fan blades with a brush attachment. Dust buildup on the blades cuts airflow more than people realize, sometimes by 30% or more.
- Every 12 months: Check the exterior vent flap on the roof or wall. Stuck flaps and bird nests are common in Enterprise, especially on two-story homes where the vent is on a steep roof pitch. Don’t climb up yourself if the roof is steep or high. That’s a call-a-pro job.
- Every 5 years: Replace the fan if it’s a builder-grade model. Modern bath fans from brands like Panasonic and Broan move far more air at lower noise. This is also when you should confirm the duct is rigid metal, not flex, and that it vents to the exterior, not to the attic.
The rule of thumb: run the fan during every shower and for 20 minutes after. That’s not a suggestion. It’s the cheapest moisture control you have. If your fan is loud enough that you avoid running it, that’s the reason to upgrade it. A quiet fan you actually use protects more than a powerful fan you don’t.
The 5-Year Inflection Points
Around year five, a few things in a remodeled bathroom hit their practical lifespan. None of them are expensive to address on schedule. All of them become expensive when they fail. The key is knowing what to replace before it’s a repair.
- Caulk. Silicone caulk in a wet environment lasts 3 to 7 years. Replace every caulk joint in the shower and around the tub at year 5 even if it looks okay. The old caulk can look intact while the seal behind it has failed. This is the $10 job that prevents $2,000 in subfloor damage.
- Grout sealer. Penetrating sealer on shower floors lasts 2 to 3 years under daily use; on walls, 5 years. By year 5 you should strip and reseal everything. A grout refresh on a 40-square-foot shower floor runs a few hundred dollars; re-tiling does not.
- Supply lines. The braided stainless lines under your vanity and behind the toilet have a rubber inner tube that degrades. Most manufacturers say replace them at 5 to 8 years. This is a $15 part and a 10-minute install. It’s also the most common cause of catastrophic water damage in a bathroom.
- Shower cartridge. A single-handle Moen or Delta valve cartridge is a wear item. When the handle starts needing extra force to turn off or the temperature drifts, that’s the cartridge. Replace it before it starts leaking into the wall.
- Toilet flapper and fill valve. The rubber flapper hardens and warps, usually around year 5. If you hear the toilet running for a few seconds without anyone touching it, the flapper is the culprit.
- Exhaust fan. Builder-grade fans are ready for replacement at year 5. A quality fan installed at that point should carry you to year 15 or beyond.
If your original remodel included a well-specified fan, quality supply lines, and premium fixtures, year 5 is mostly caulk, sealer, and cartridges. If you’re seeing more than that, it’s worth a walk-through by a pro who can spot where a bigger problem is forming.
How to Protect Your Warranty Coverage
Most bathroom warranties get voided quietly, not dramatically. A homeowner does something reasonable-looking that the warranty explicitly excludes, and nobody finds out until a piece of tile cracks and the claim gets denied. Here’s what typically voids coverage on a bathroom remodel, and what to do instead.
- Using abrasive cleaners on tiled surfaces or stone. Powdered cleansers, bleach-based scrubs, and anything with grit scratch the sealer off natural stone and dull porcelain glaze. Use a pH-neutral stone or tile cleaner. Cambria and Caesarstone will tell you the same thing.
- Installing your own hardware. When a homeowner hangs a new mirror or shelf and drills into a spot where a waterproofing membrane runs behind the tile, the puncture can void the waterproofing warranty on that wall. Planned penetrations before tile goes up are one thing; after is another.
- Skipping the exhaust fan. If a manufacturer can determine moisture damage came from a bathroom that didn’t use its fan, that’s grounds to deny. Ceiling drywall damage above a shower is a red flag.
- Doing your own repairs on the failed component. The free second visit if a repair fails only applies if nobody else touched it in between. Opening a shower valve and then calling it in usually ends the coverage on that valve.
- Not reporting within the window. The 365-Day Done Right Promise covers a full year, but it requires that you call while the issue is current. A grout crack that got reported at month 3 is easy. The same crack discovered at month 14 after water damage has already spread is not.
Keep the paperwork. Written price, written guarantee, and the material spec sheet for every surface and fixture. If a manufacturer like Kohler or Moen needs to be involved on a component failure, those documents make the claim straightforward.
Seasonal Tasks for Enterprise’s Climate
Enterprise has two maintenance seasons that matter for a bathroom. The dry months, roughly late spring through fall, pull moisture out of caulk and wood framing fast. The few cooler, more humid weeks around winter expose any moisture that’s already getting into a wall or floor assembly. Both are useful signals.
- Late spring (May – June): Inspect caulk joints across the whole room. This is when shrinkage cracks show up. Refresh any that are starting to pull away from the tile or tub.
- Mid-summer (July – August): This is the hardest test for the exhaust fan. Run the fan and confirm with the toilet paper test. If the fan feels weak, get it serviced or replaced before monsoon-season humidity spikes.
- Fall (October – November): Reseal the shower floor and any natural stone before winter damp. Check window seals and the wall behind exterior fixtures for any sign of moisture.
- Late winter (February – March): Look for any sign of slow leaks: water stains on the ceiling below the bathroom, a spongy floor near the toilet, or a musty smell you can’t track down. Enterprise homes on slab foundations sometimes hide leaks under the tile until they’ve done real damage.
The point of seasonal checks is that they catch problems before they compound. If you’re planning any broader update to the room, General Contractor in Enterprise services through Sawyer Remodel Enterprise can fold maintenance upgrades into a bigger job so you’re not paying for two separate visits. The same is true if a bathroom refresh turns into a kitchen and bath refresh. You can see the full scope of what’s offered on the Sawyer Remodel Enterprise home page, and if you’re planning updates elsewhere in the house, Kitchen Remodeling in Enterprise runs on the same maintenance logic.
Common Mistakes to Avoid
- Waiting for visible mold before running the fan. By the time mold shows on grout or ceiling paint, the moisture has been in the wall for months. Run the fan on every shower and leave it running 20 minutes after.
- Using bleach on stone or natural grout. Bleach attacks the sealer and the colorant in grout. In Enterprise, where water is already hard, bleach can leave etched surfaces that catch scale faster. Use a pH-neutral cleaner.
- Ignoring small caulk gaps at month 2. That 1/8-inch gap will widen through the dry season and start admitting water behind the tile. Caulk at first sign, not at first leak.
- Skipping the supply-line replacement at year 5. This is a $15 part. Every plumber we’ve worked with sees the failure mode: a hardened rubber tube inside a steel braid, no visible warning, and a sudden failure on a Saturday.
- Storing cleaners and aerosols in the bathroom. If your bathroom has no exterior-grade exhaust (or you skip running it), the humidity and off-gassing from stored chemicals accelerate deterioration on finishes and chrome. Move them to a closet or garage.
- Trusting a “contractor” who never shows the price in writing. If the initial estimate was verbal and the guarantee was “we’ll take care of you,” there’s no warranty to enforce. The written price and the 365-Day Done Right Promise are the two documents that make everything in this guide easier.
- Doing your own grout or sealer work in the first year. New grout and fresh caulk need the initial cure time the installer built into the schedule. Resealing too early traps moisture that hasn’t finished escaping. Wait out the initial period, then start your own maintenance cycle.
See the difference
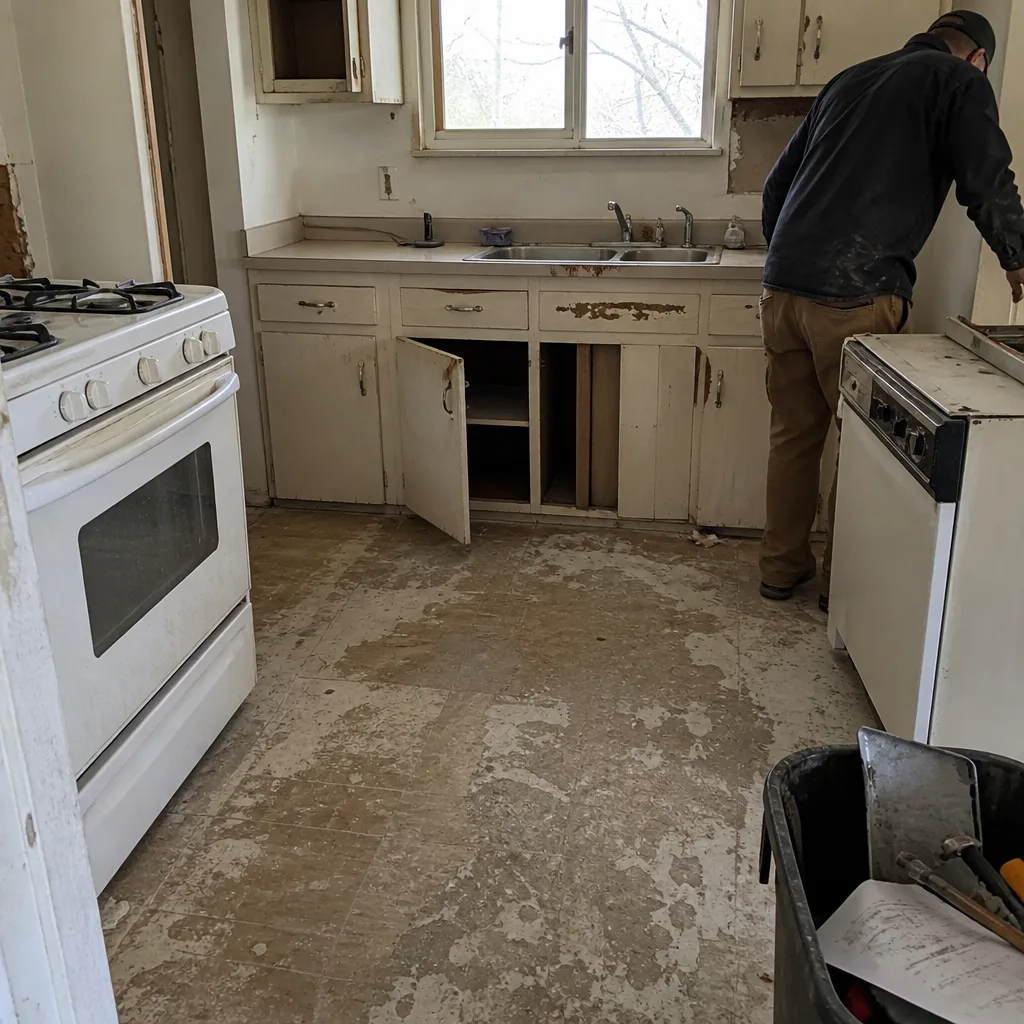 Before
 After
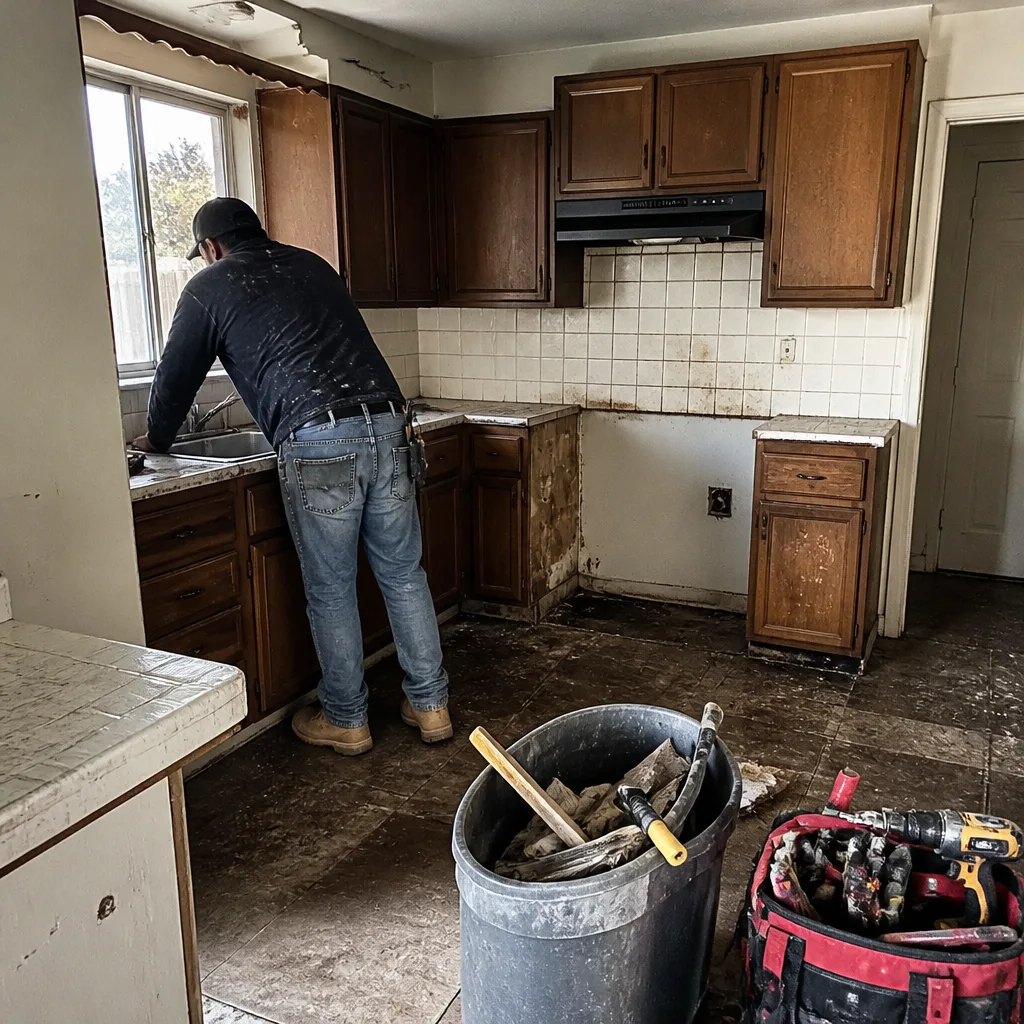 Before
 After
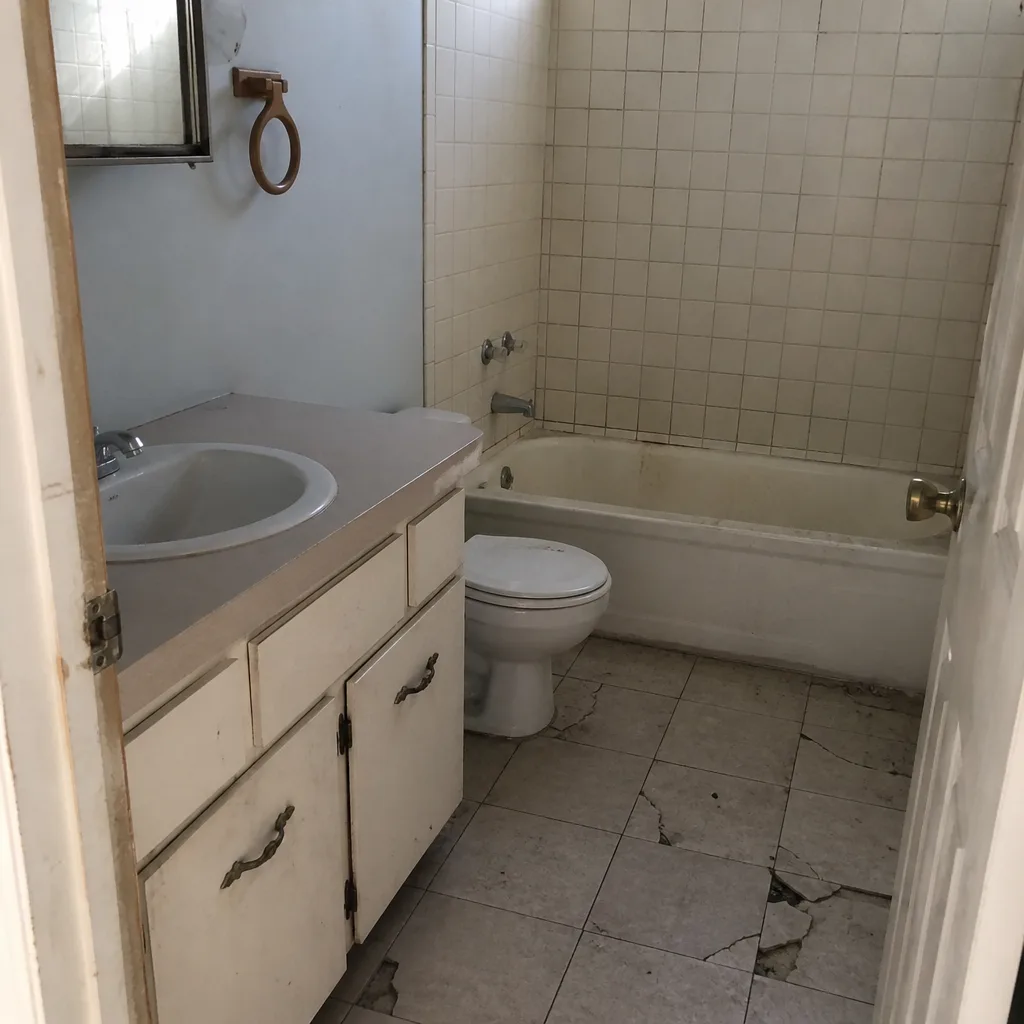 Before
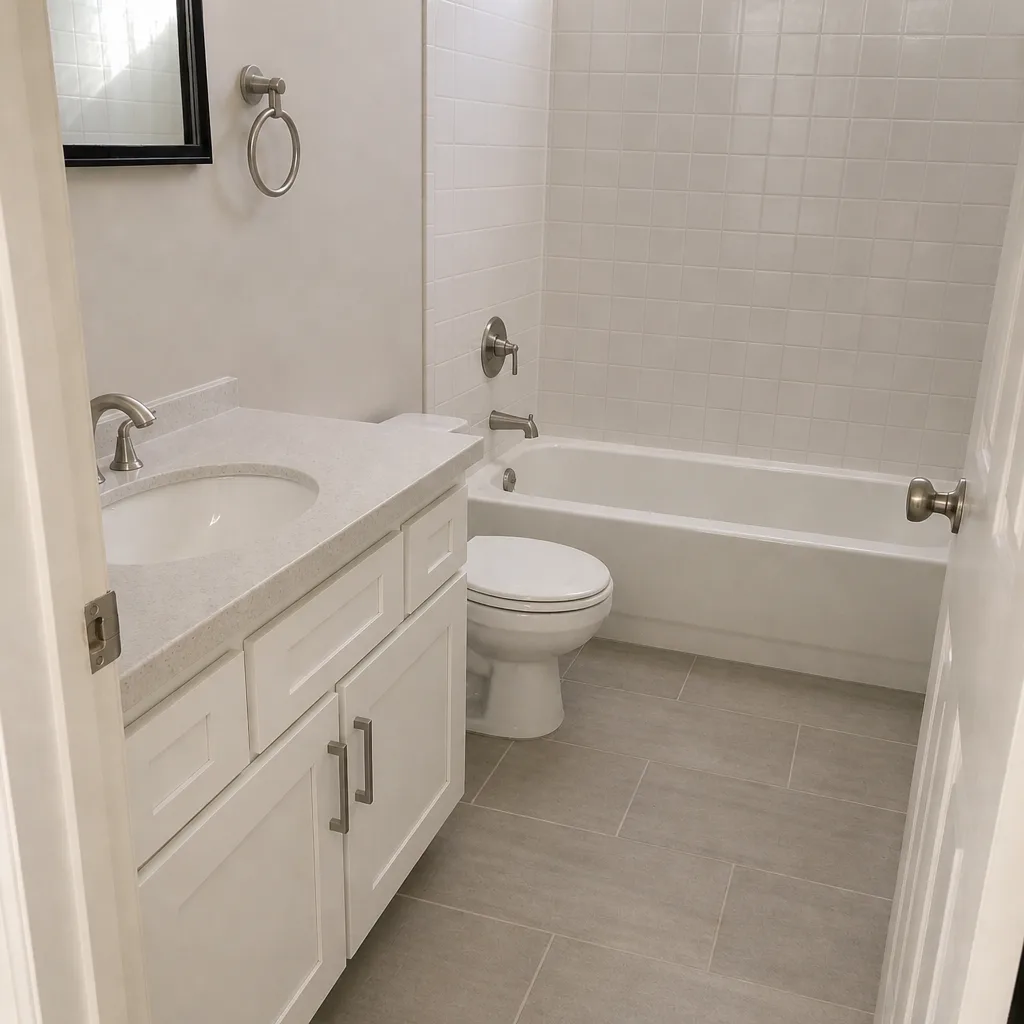 After
When to Call a Professional
Some of this schedule you should handle yourself. The fan grille, the squeegee, the toilet paper test, and caulk refresh at month 2 are all homeowner jobs. But certain scenarios need a trained pro, and a few should trigger a call today, not next week: any standing water on a shower floor more than 30 minutes after the last shower, any moisture stain on a ceiling below the bathroom, a grab bar or shower door hinge that won’t stay tight after a snug, any soft spot in the floor near the toilet or tub, or a fan that fails the toilet paper test after cleaning. Those are all signs that something is failing under the surface. On high-tension shower door hinges and any work that involves opening a wall or working behind tile, a trained professional is the right call. Waterproofing membranes and valve replacements aren’t handyman work. Sawyer Remodel Enterprise offers free estimates in Enterprise. Call (844) 797-5994 to schedule a walk-through, and you’ll get a written price before any work starts.
Frequently Asked Questions

Inspect every 3 months and replace all caulk joints every 3 to 7 years. In Enterprise’s dry climate, silicone caulk lasts closer to the 3 to 5 year end of that range on the shower floor, and closer to 7 years around the tub rim and wall joints. Replace proactively at year 5.
Fresh grout cures at different rates based on how much moisture is trapped in the substrate. A darker patch that stays noticeable 30 days after install is usually a sign of moisture behind the tile, which needs a look. A slight color shift that evens out by week 4 is normal cure behavior.
Reseal annually with a penetrating stone sealer, squeegee after every shower, and use only pH-neutral stone cleaners. Skip bleach and anything labeled “scrub.” In the Las Vegas Valley, a marble shower that goes 18 months without resealing will start showing etched spots in the traffic areas.
The most common voids are abrasive cleaners on natural stone, homeowner-drilled penetrations through the waterproofing membrane, and unreported failures that turn into bigger damage before being called in. Any repair done by someone else on a component that’s still under warranty typically ends coverage on that component.
Builder-grade fans typically run 4 to 6 years before airflow drops noticeably. Higher-end fans from brands like Panasonic, Broan, or Delta can last 10 to 15 years with annual cleaning. The single biggest factor in fan lifespan is how often the blades and grille get cleaned.
Yes, especially in Enterprise where a slab leak or a burst supply line can run unattended for days. Shut off the main or install an automatic leak detector at the supply. A failed supply line in a vacation-empty house is the most expensive repair we hear about from homeowners.
The Bottom Line
A remodeled bathroom isn’t a “set it and forget it” asset. It’s on a predictable schedule: caulk and grout checks at months 1 – 3 and quarterly after, an annual descaling and stone reseal, a fan cleaning every 12 months, and a proactive replacement of caulk, sealer, and supply lines at year 5. The homeowner who follows that calendar gets 15+ years of use out of a remodel that would otherwise need to be redone at year 8. Sawyer Remodel Enterprise runs every project under The Relay Visibility Guarantee: a written price before work starts, live arrival time tracking, and before-and-after photo updates. That’s the standard that makes a maintenance schedule possible, because you have someone to call. Call (844) 797-5994 to schedule your free estimate. Estimates are free, and the price lands in writing before any work begins.
Written by the team at Sawyer Remodel Enterprise.