
Last updated November 18, 2026







Free written scope consultation - allowances, timeline, and change-order rules on paper before a single trade is scheduled
Kitchen Remodeling Maintenance Schedule: What to Do and When
Grout in a kitchen backsplash should be sealed within 72 hours of installation and re-sealed every 12 months. Most homeowners do neither, and the resulting staining voids the tile installer’s warranty. That’s the part of a remodel nobody warns you about. A new kitchen doesn’t fail because the work was bad. It fails because no one handed you the maintenance manual at project close. This guide is that manual. You’ll get the 30-60-90 day checklist, the appliance break-in steps your installation crew skipped, the Nevada-specific cabinet care that extreme heat and low humidity demand, and the photo protocol that protects your warranty. If you’re remodeling in Enterprise, the dry air here makes all of it more urgent.
Quick Answer
After a kitchen remodel, the critical maintenance window runs from day 30 through day 90: tighten cabinet hardware, adjust drawer slides, seal grout, and inspect caulk at the countertop-to-backsplash joints. Then it becomes annual and seasonal care – re-seal grout and stone every 12 months, check plumbing fittings under the sink each year, and adjust cabinet doors as seasons change. In Enterprise’s climate, the low humidity and hot summers accelerate wood movement, so cabinet adjustments come sooner and more often than in wetter parts of the country.
Styles & brands we work with
- Kitchen remodeling
- Bathroom remodeling
- Home additions & ADU
- Roofing
- Windows & doors
- Driveway & pavers
- Fence
Table of Contents
- The First 30 Days After Your Remodel
- The 30-60-90 Day Checklist
- Appliance Break-In Maintenance
- Nevada Cabinet Care: Heat, Dry Air, and Wood Movement
- Annual Plumbing Inspection Points
- Documenting Condition at Project Close
- The Seasonal Schedule for Enterprise
- Common Mistakes to Avoid
The First 30 Days After Your Remodel
Month one is a settling period. Materials move. Caulk cures. Doors that hung perfectly on install day can start to rub by week three. None of it means the work was wrong, but you have to watch for it.
Here’s what actually happens in the first 30 days: the wood in your cabinet boxes and doors absorbs or releases moisture as it adjusts to your home’s real humidity (which, in Enterprise, is low all year). Door hinges loosen slightly from the repeated open-and-close cycles of daily cooking. The caulk line where your countertop meets the backsplash cures and, in a few spots, shrinks. Drawer slides wear in and the glide feel changes.
What to do in those first 30 days:
- Run every drawer and open every cabinet door at least a dozen times. Note anything that rubs, sticks, or feels loose.
- Check the caulk at the countertop-to-backsplash joint with a flashlight. If it’s pulling away at a corner, write it down.
- Wipe down counters daily with a damp cloth so you learn how the surface reacts to water and heat before any staining sets in.
- If your installer flagged a grout sealing date, put it in your phone calendar now. If they didn’t, assume it needs sealing within 72 hours and get it scheduled.
- Keep the manufacturer paperwork for every appliance. You’ll need it for warranty registration, which many people never complete.
The point of month one isn’t fixing – it’s catching. Anything you spot in the first 30 days is easy to raise while your project is freshly closed. In our experience with kitchen remodeling in Enterprise, homeowners who keep a running list during this window end up with far fewer surprises later.
The 30-60-90 Day Checklist
This is the core of post-remodel maintenance. Work through it in order. It takes under two hours per visit and prevents the small stuff from turning into repair bills.
Day 30
- Tighten cabinet hardware. Use a screwdriver, not a drill, so you don’t over-torque. Knobs and pulls are the first thing to loosen after repeated use.
- Test every drawer slide for smooth travel. Most slides have an adjustment screw that lets you level the drawer face and tune the glide.
- Inspect grout lines in the backsplash and on floor tile. Look for hairline cracks where the tile meets the wall or floor.
- Photograph the full kitchen, wide shots plus close-ups of every joint, seam, and fixture.
Day 60
- Re-check the caulk at the countertop-to-backsplash joint. If it’s cracking or pulling, clean it out and re-caulk with a kitchen-rated silicone.
- Adjust cabinet doors. Hinges have two or three adjustment screws for height, depth, and side-to-side. A door that rubs a neighbor is usually a five-minute fix.
- Confirm grout sealing is scheduled or complete. If the installer used a stone like Cambria or Caesarstone for the countertop, follow the specific care instructions – quartz is non-porous, but the grout around the backsplash is not.
- Check the appliance gaskets on the refrigerator and oven. New gaskets seat better after a few weeks and can look slightly loose at first.
Day 90
- Pull out the refrigerator and inspect the water line and the floor behind it. Look for moisture.
- Open the cabinet under the sink and check every fitting on the supply lines and P-trap for a single drop of water.
- Run the dishwasher through a full cycle and check the connection under the sink and at the cabinet base for weeping.
- Re-tighten every cabinet pull. Repeated use loosens them again by day 90.
- Photograph everything again. This gives you a clean before/after baseline.
Appliance Break-In Maintenance
Your installation crew set the appliances up to run. What they didn’t tell you is that new appliances need their own break-in care in the first 90 days – and skipping it shortens the machine’s life.
Refrigerator. Give it a full 24 hours to reach temperature before loading it fully. Wipe the interior with a damp cloth and a mild solution to remove manufacturing residue. Pull it out at day 30 and check that the water line connection is dry and the leveling feet are stable. A fridge that rocks slowly works its compressor harder.
Dishwasher. Run an empty cycle with a dishwasher cleaner first. Check that the drain connection under the sink is secure – this is one of the most common leak points in the first year. After 30 days, pull the filter basket and rinse it. Repeat monthly.
Range. If it’s a gas unit, the installer confirmed the connection and checked for leaks. Don’t touch that connection yourself. But do wipe the cooktop after every use in the first month so you understand how the surface handles heat. A Toto or Kohler fixture in the kitchen has the same idea – the finish is durable, but it responds well to early, consistent care.
Set a reminder for day 90 to check all three appliances: water lines dry, filters clean, and gaskets seated. If you’re planning a full renovation, our general contractor in Enterprise team walks through appliance placement and connections before the cabinets go in.
Nevada Cabinet Care: Heat, Dry Air, and Wood Movement
Enterprise’s climate is hard on wood. Summers push well past 100 degrees, humidity sits far below what cabinets were finished at on the shop floor, and the gap between indoor air-conditioned air and dry outdoor air exaggerates how much the wood shrinks and swells. That combo makes cabinet care a seasonal job here, not an annual one.
What happens to cabinets in this climate:
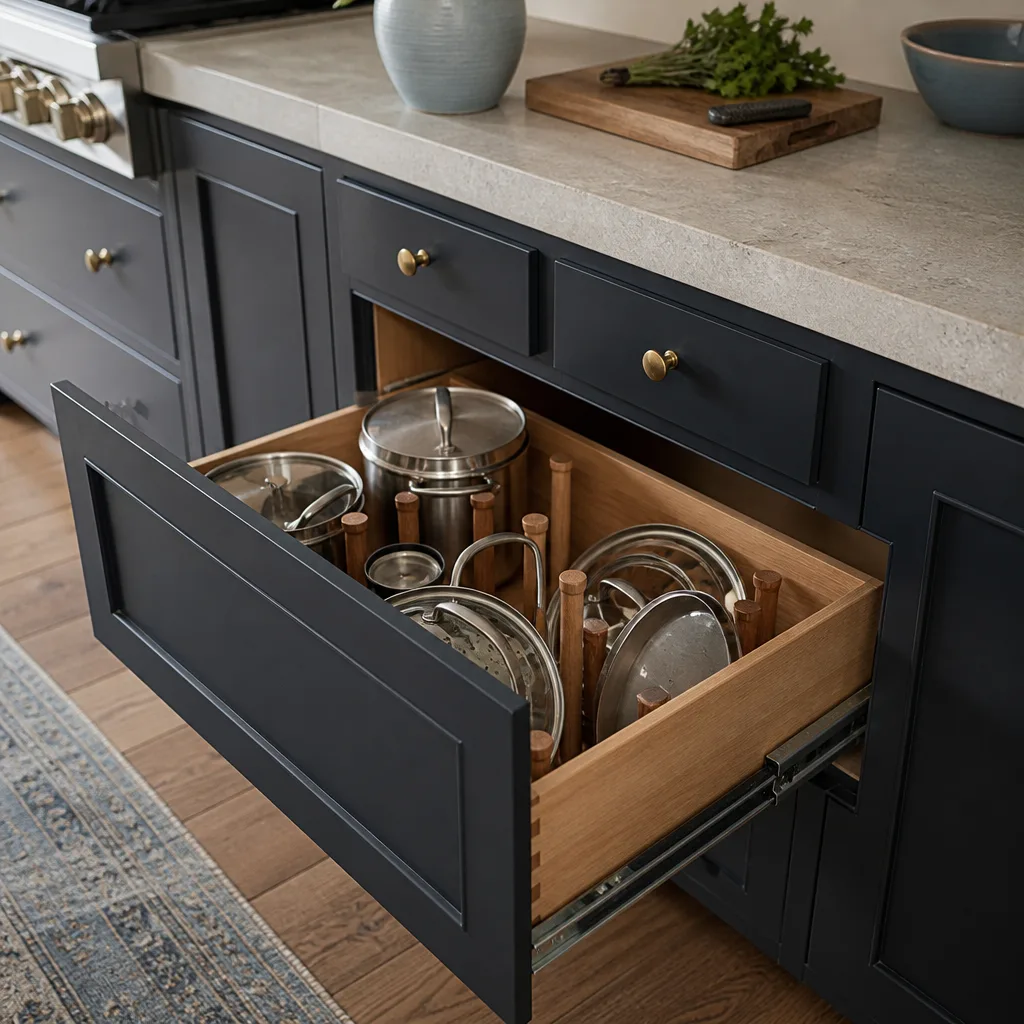
- Doors shrink slightly in summer. When the humidity drops, wood releases moisture and pulls in. Door gaps open up and the finish can show fine checking at the edges if the wood was never sealed properly.
- Joint gaps reopen in winter. The dry months are the worst for mitered joints and edge banding. Expect small gaps to appear and close on their own as the year turns.
- Hinges and slides need adjustment more often. The same movement that affects wood affects metal components. A hinge that was perfect in the shop can need a quarter-turn on a screw by spring.
What to do seasonally:
- Adjust cabinet doors in spring and fall. Check every door for rub and tune the hinges. This is the single best thing you can do for cabinet longevity in Enterprise.
- Keep indoor humidity as stable as you can. A whole-home humidifier or a few well-placed water pans during dry stretches helps.
- Wipe cabinets down with a damp cloth, never soaked. Water sitting on finish causes the swelling you’re trying to prevent.
- Keep cabinets out of direct sun. UV from a south-facing window cooks the finish on KraftMaid and Wellborn doors the same way it does on any cabinet.
Do this and cabinets that were finished correctly in the shop stay tight for years. Skip it and the seasonal movement becomes permanent damage – which is a repair, not a maintenance item.
Annual Plumbing Inspection Points
Every feature under your new sink and behind your dishwasher connects with fittings that work loose over the first year. That’s not a defect – it’s thermal cycling. Hot water runs, the pipe heats, the fitting expands a fraction, then it cools and contracts. Do that a few thousand times and a compression ring or a supply line connection can start to weep.
Every year, check these points:
- Supply line connections under the sink at the shutoff valves. Dry to the touch is the only passing grade.
- The P-trap and drain assembly – loosen by a quarter-turn only if you find a drip, then re-tighten snugly. Don’t over-tighten.
- The dishwasher drain hose where it meets the sink drain or garbage disposal. This is the most common slow leak in a new kitchen.
- The icemaker water line behind the refrigerator. Trace it to the valve and look for any sign of moisture.
- The garbage disposal mount – check the flange and mounting ring for looseness and vibration.
- Faucet base and escutcheon – check for water pooling around the base. A Delta or American Standard faucet is built to last, but the deck seal still needs checking.
Look for the warning signs before they become a repair: a musty smell under the sink, a soft spot in the cabinet base, a water stain on the cabinet floor, or mineral crust around a fitting. Any of those means calling a plumber, not a handyman. The bathroom remodeling in Enterprise work we do involves the same supply line and fitting care, and the same annual inspection habit applies across the house.
Documenting Condition at Project Close
This is the step almost everyone skips, and it’s the one that protects your warranty. At the end of your project, before the crew packs up, take a documented photo set of the finished kitchen. If a workmanship issue surfaces in year one, you have a clear baseline that shows what the job looked like when it closed.
What to photograph:
- Wide shots of each wall of the kitchen, one full sweep each.
- Close-ups of every joint: countertop-to-backsplash, cabinet-to-wall, floor-to-toe-kick, and where the sink meets the counter.
- Every grout line in the backsplash and floor tile – a slow pan across each plane.
- Under-sink plumbing and the dishwasher connection point, wide and close.
- Cabinet doors and drawers, open and closed, showing alignment at close.
- Appliances, including model and serial plates.
Store the photos in a cloud folder named with the project close date. When you file a warranty claim, the before/after comparison makes the case simple. That’s the same reason we run Sawyer Remodel Enterprise home projects with photo updates throughout – a documented record is easier than a debate. Our 365-Day Done Right Promise is backed in writing on every project, and the strongest claims are the ones with a clean photo record behind them.
The Seasonal Schedule for Enterprise
Once you’re past the first 90 days, maintenance becomes a calendar. Here’s what the year looks like in Enterprise’s climate.
- Spring: Adjust cabinet doors and hinges after winter’s dry air. Re-seal grout if it’s been 12 months. Check caulk at countertop joints.
- Summer: Watch cabinet doors as the heat and dry air pull at the wood. Check refrigerator and dishwasher performance. Wipe stone surfaces like Cambria and Caesarstone with the manufacturer’s recommended cleaner.
- Fall: Second cabinet door adjustment. Annual plumbing inspection under the sink and behind the dishwasher. Replace the refrigerator water filter.
- Winter: Check the caulk lines again – this is when joints show shrink. Re-seal grout if the timing has come around. Clean the range hood filter.
Two of those are cabinet adjustments, which surprises people. In Enterprise, the humidity swing between a conditioned home and the dry outside air is wide enough that wood moves twice a year, so plan on two adjustments, not one.
Common Mistakes to Avoid
- Skipping the grout sealing window. Grout should be sealed within 72 hours. In Enterprise’s dry climate it cures faster and stains just as fast. Waiting a month is how a fresh backsplash picks up permanent marks.
- Over-tightening cabinet hardware. A screwdriver, not a drill. Drills strip the pilot hole and the pull spins loose forever after.
- Ignoring the first-year plumbing check. A slow weep under the sink doesn’t announce itself. By the time you see the stain on the cabinet floor, the fitting has been leaking for weeks.
- Never registering appliance warranties. A new refrigerator or dishwasher is covered, but only if you register it. Many homeowners realize this only when they need it.
- Using household cleaners on quartz and stone. Harsh abrasives dull the finish. Stick to the recommended cleaner for Cambria, Caesarstone, and Silestone surfaces.
- Skipping the photo documentation. Without a before set, a warranty claim becomes your word against the record. With a set, it’s a five-minute conversation.
- Not touching the caulk because “it’s just a little crack.” Small caulk gaps let water behind the countertop. Re-seal early, before water finds the cabinet base.
See the difference
 Before
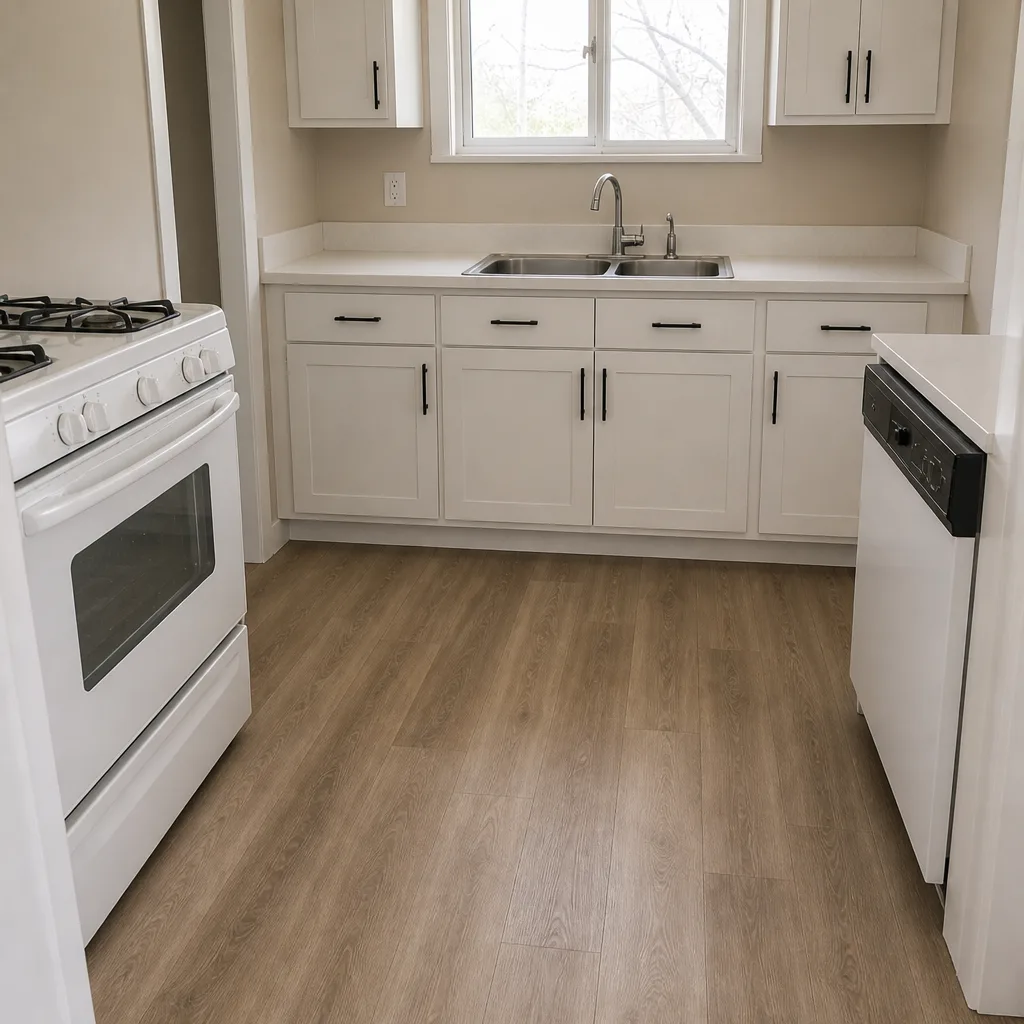 After
 Before
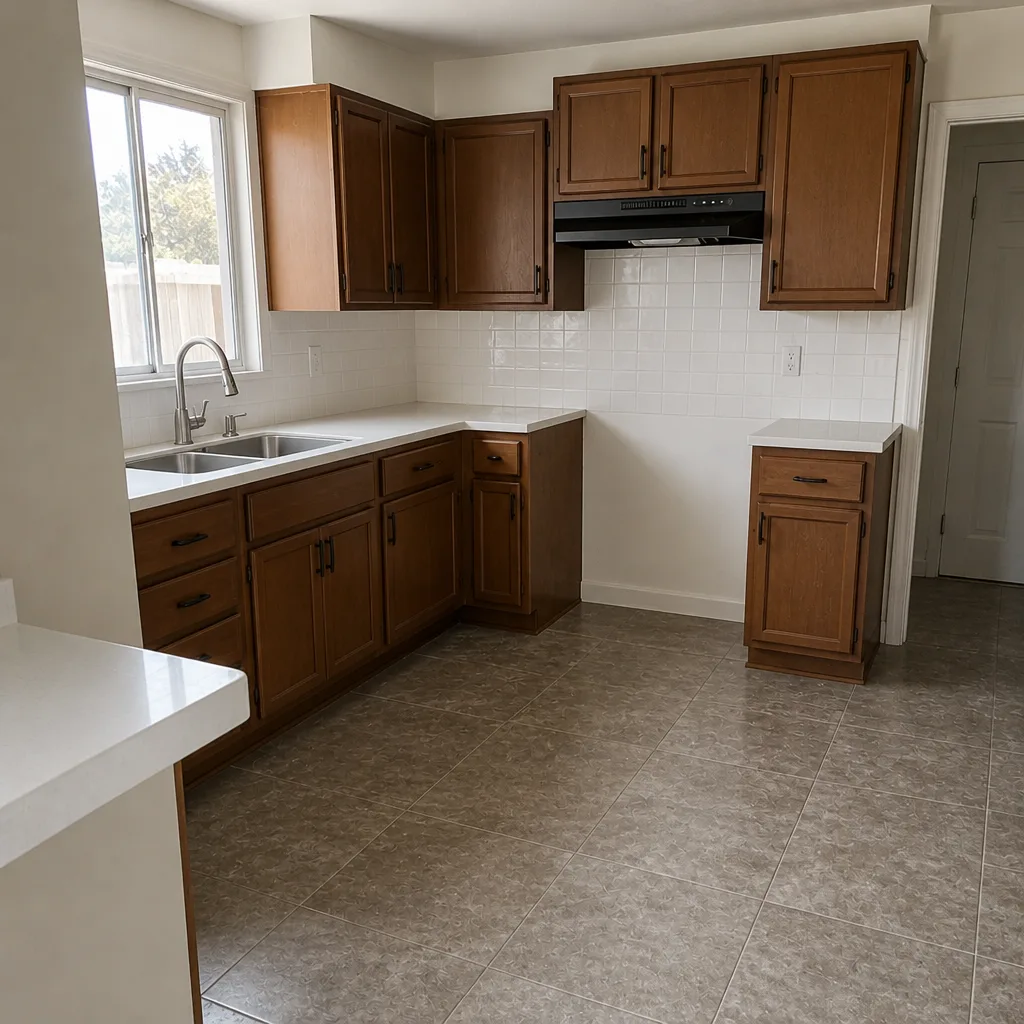 After
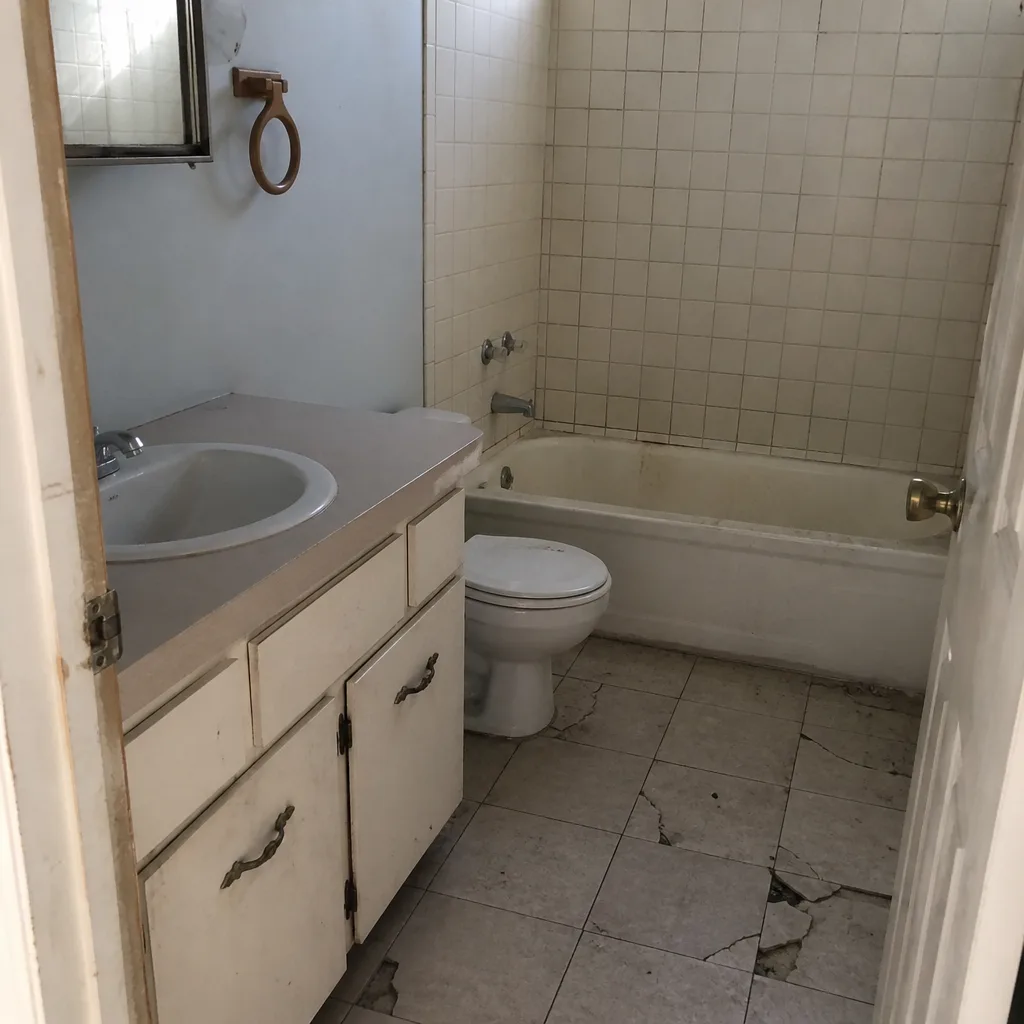 Before
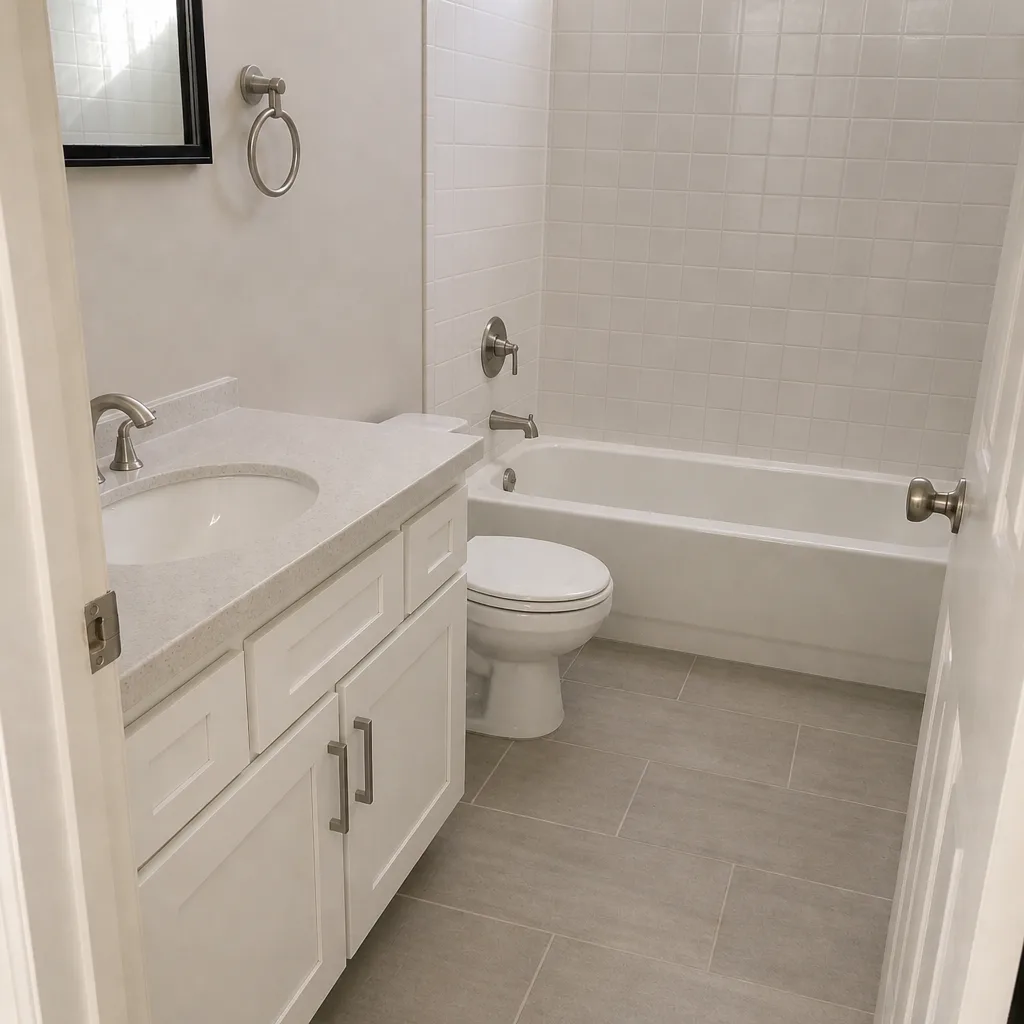 After
When to Call a Professional
Some things you maintain yourself. Some things you hand over. Call a professional when you find an active leak under the sink or behind the dishwasher, when a fitting you can’t reach by hand starts weeping, when cabinet joints are opening beyond a screwdriver fix, or when a workmanship issue surfaces within the first year. Don’t re-caulk over water damage, and don’t adjust hinge screws until they strip – that turns a five-minute fix into a replacement. If your kitchen was remodeled recently and something in that first year isn’t right, that’s the moment to raise it, not to patch it yourself. Sawyer Remodel Enterprise offers free estimates in Enterprise and written line-item quotes – call (844) 797-5994 to schedule yours.
Frequently Asked Questions
Seal the grout within 72 hours of installation. In Enterprise’s dry climate the grout cures fast, and unsealed grout stains the first time a spill lands on it. Re-seal every 12 months after that. If your installer used a stone-like surface for the backsplash, follow the manufacturer’s specific care instructions, but the grout line itself still needs sealing.
Wood moves with humidity, and in Enterprise the dry air causes doors to shrink and joints to open seasonally. A door that rubs is almost always a hinge adjustment, not a defect. Most hinges have adjustment screws for height, depth, and side-to-side, and a quarter-turn usually fixes it. Plan on adjusting doors in spring and fall, not just once a year.
Check supply line connections, the P-trap, the dishwasher drain hose, and the faucet base. Thermal cycling works the fittings loose over the first year of hot and cold water running through them. Run a finger along each fitting once a year. A single drop is your warning sign, and catching it early is far cheaper than replacing a water-damaged cabinet base.
Take a full photo set before the crew leaves: wide shots of each wall, close-ups of every joint and grout line, under-sink plumbing, cabinet alignment, and appliance model plates. Store them in a cloud folder dated to the close. If a workmanship issue surfaces within your warranty period, those photos give you a clear before/after baseline and make the claim simple to support.
Yes – register every appliance within the first 30 days. The manufacturer warranty is often conditional on registration, and many homeowners only find this out when they try to file a claim. Keep the model and serial numbers photographed and stored with your project records.
Yes. We provide a written line-item quote before any work starts, so the number on the invoice is the number you approved. Every project also comes with The Relay Visibility Guarantee – a written price, a live arrival time, and before-and-after photo updates. Call (844) 797-5994 to schedule your free estimate in Enterprise.
The Bottom Line

A new kitchen needs a maintenance schedule the same way a car needs oil changes. Grout gets sealed within 72 hours and re-sealed every 12 months. Cabinets get hardware tightened at day 30 and 90, and hinges adjusted twice a year in Enterprise’s dry climate. Plumbing under the sink gets an annual inspection because thermal cycling works fittings loose in year one. And the whole thing gets photographed at project close so your warranty has a baseline. None of it is hard. It just has to happen on schedule – and now you have the schedule.
If you’re heading into a kitchen or whole-home renovation and want a written price before any work starts, Sawyer Remodel Enterprise is part of the Relay Home Co. family and runs every job under The Relay Visibility Guarantee. Call (844) 797-5994 for a free estimate in Enterprise – we answer live, day or night, and the price we quote is the price you approve.
Written by the team at Sawyer Remodel Enterprise.